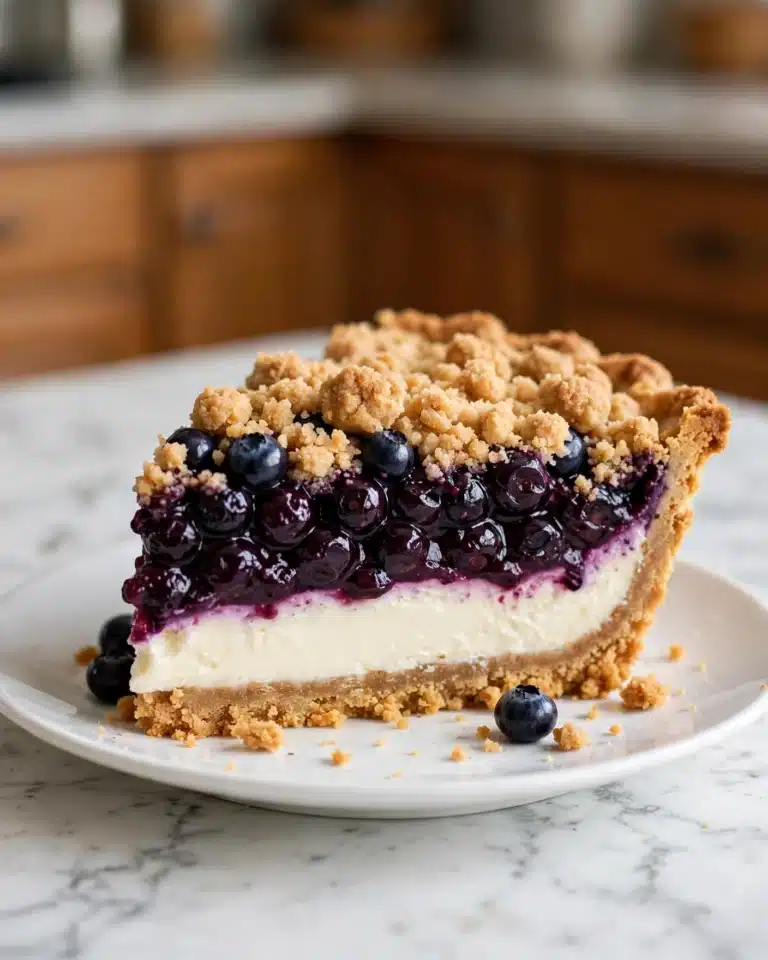
If you love rich, creamy, and indulgent desserts that require no oven time, then you are going to adore this No-Bake Peanut Butter Cup Cheesecakes Recipe. It’s the perfect marriage of buttery chocolate cookie crusts with a luscious peanut butter cheesecake filling, generously studded with chopped mini peanut butter cups. Each bite delivers a dreamy combination of sweet and nutty flavors that will have you reaching for seconds (or thirds) without a second thought. These mini cheesecakes are not only utterly delicious but also incredibly simple to make, making them a fantastic treat to whip up for any special occasion or whenever that chocolate-peanut butter craving hits hard.
Ingredients You’ll Need

This No-Bake Peanut Butter Cup Cheesecakes Recipe shines because of its straightforward, pantry-friendly ingredients that each bring something essential to the party. The chocolate cookie crumbs create a crisp and flavorful base, the peanut butter adds creamy richness, and the cream cheese gives it that classic cheesecake tang and texture.
- Chocolate cookie crumbs: These form a sturdy, chocolatey crust that perfectly balances the creamy filling.
- Unsalted butter, melted: Binds the cookie crumbs together for a buttery, firm base.
- Granulated sugar: Just a touch to sweeten and enhance the crust’s flavor.
- Cream cheese, softened: The heart of the cheesecake, providing smooth, tangy creaminess.
- Creamy peanut butter: Adds that unmistakable nutty sweetness that pairs perfectly with chocolate.
- Powdered sugar: Sweetens the filling without any grit, keeping it velvety smooth.
- Vanilla extract: Enhances all the other flavors with warm, aromatic notes.
- Heavy cream, cold: Whipped to light, fluffy peaks, it gives the filling airiness and a melt-in-your-mouth texture.
- Mini peanut butter cups, chopped: Mixed in for delightful bursts of chocolate and peanut butter throughout.
- Whipped cream: For topping, adding extra lightness and visual appeal.
- Chocolate chips, melted (optional): A final decorative drizzle that amps up the chocolate factor beautifully.
How to Make No-Bake Peanut Butter Cup Cheesecakes Recipe
Step 1: Prepare the Crust
Start by lining a 12-cup muffin pan with paper liners for easy removal later. Mix together the chocolate cookie crumbs, melted butter, and granulated sugar in a bowl until the crumbs are evenly moistened. Press this mixture firmly into the bottom of each liner, creating a compact crust that will hold up to the creamy filling. Pop the pan into your refrigerator while you prepare the peanut butter cheesecake filling so the crusts can set and firm up.
Step 2: Make the Cheesecake Filling
In a large mixing bowl, beat the softened cream cheese, creamy peanut butter, powdered sugar, and vanilla extract until the mixture is silky smooth and evenly blended. In a separate bowl, whip the cold heavy cream until medium-stiff peaks form—that’s when the whipped cream holds its shape but is still soft enough to fold gently. Carefully fold the whipped cream into the peanut butter and cream cheese mixture using a spatula, preserving as much airiness as possible.
Step 3: Add the Peanut Butter Cups
Next, fold in the chopped mini peanut butter cups to add delightful chunks of chocolate and peanut butter throughout the filling. This adds texture and extra sweetness, giving each bite a little surprise to savor.
Step 4: Assemble and Chill
Divide the filling evenly over the chilled crusts, smoothing the tops with the back of a spoon or spatula. Refrigerate the cheesecakes for at least 4 hours, or ideally overnight, until they are completely set and firm to the touch. This patience pays off with a perfect bite that holds its shape beautifully.
How to Serve No-Bake Peanut Butter Cup Cheesecakes Recipe

Garnishes
Before serving, top each mini cheesecake with a dollop of whipped cream and sprinkle with extra chopped mini peanut butter cups for visual appeal and a crunchier texture. If you want to make things even more special, drizzle warm melted chocolate over the top for that irresistible finishing touch.
Side Dishes
These cheesecakes are indulgent enough to be a show-stopping dessert on their own, but they pair wonderfully with a simple side of fresh berries or a small scoop of vanilla ice cream. The tangy and fresh notes from berries cut through the richness, creating a balanced bite every time.
Creative Ways to Present
For a fun twist, serve these mini cheesecakes in clear glass jars or mason jars for a rustic yet chic look, perfect for parties or gifts. Another idea is to stack a few on a dessert platter lined with parchment paper and sprinkle with crushed peanuts or cocoa powder for extra flair.
Make Ahead and Storage
Storing Leftovers
Store any leftover cheesecakes in an airtight container in the refrigerator. They will stay fresh and creamy for up to 4 days, making them perfect for enjoying over a few days without losing their incredible texture or flavor.
Freezing
These cheesecakes freeze beautifully! Wrap each mini cheesecake tightly in plastic wrap and place them in an airtight container or freezer bag. They can be frozen for up to 1 month. When ready to eat, thaw them overnight in the refrigerator to enjoy that smooth, creamy texture once again.
Reheating
No reheating needed with this No-Bake Peanut Butter Cup Cheesecakes Recipe—just remove them from the fridge or thawed state and enjoy chilled. This helps maintain that luscious creaminess and ensures the peanut butter and chocolate flavors remain fresh.
FAQs
Can I use crunchy peanut butter instead of creamy?
Yes, you can use crunchy peanut butter for an extra nutty texture, but it may make the filling slightly less smooth. If you prefer a velvety texture, stick with creamy peanut butter.
What can I substitute for the chocolate cookie crumbs for the crust?
If you don’t have chocolate cookies on hand, try crushed graham crackers with a tablespoon of cocoa powder mixed in for a similar chocolate flavor. Just make sure the crumbs are fine enough to press firmly.
Do I have to use mini peanut butter cups inside the filling?
While the mini peanut butter cups add wonderful texture and peanut butter-chocolate bursts, you can certainly omit them or replace with chopped regular peanut butter cups or even chopped peanuts for crunch.
How long should I chill the cheesecakes before serving?
At least 4 hours of chilling is necessary to let the filling firm up properly. For best results, chill overnight so the flavors meld together and the texture becomes perfectly set.
Can I double this recipe for a larger batch?
Absolutely! Just double all the ingredients and use two muffin pans or work in batches. The steps remain the same, and you’ll have plenty of these delicious mini cheesecakes to share with friends and family.
Final Thoughts
This No-Bake Peanut Butter Cup Cheesecakes Recipe is hands down one of those desserts that always impresses and satisfies at the same time. The combination of chocolate cookie crust with creamy peanut butter cheesecake filling studded with peanut butter cups is pure magic. Whether you’re a peanut butter lover or just looking for an easy-to-make, no-oven-required dessert, these mini cheesecakes will quickly become a go-to favorite you’ll want to make again and again. So grab your ingredients and dive into this heavenly treat—you’re in for a deliciously smooth ride.
Print
No-Bake Peanut Butter Cup Cheesecakes Recipe
- Total Time: 4 hours 20 minutes
- Yield: 12 mini cheesecakes
- Diet: Vegetarian
Description
These No-Bake Peanut Butter Cup Cheesecakes are an indulgent treat featuring a rich chocolate cookie crust paired with a creamy, smooth peanut butter cheesecake filling, studded with chopped peanut butter cups and topped with whipped cream and optional melted chocolate. Perfectly portioned in mini sizes and requiring no oven, they are easy to make and ideal for satisfying peanut butter and chocolate cravings.
Ingredients
For the crust:
- 1 1/2 cups chocolate cookie crumbs
- 5 tablespoons unsalted butter, melted
- 2 tablespoons granulated sugar
For the filling:
- 8 oz cream cheese, softened
- 1/2 cup creamy peanut butter
- 1/3 cup powdered sugar
- 1 teaspoon vanilla extract
- 1 cup heavy cream, cold
- 8 mini peanut butter cups, chopped
For topping:
- 1/2 cup whipped cream
- 6 mini peanut butter cups, chopped
- 1/4 cup chocolate chips, melted (optional)
Instructions
- Prepare the crust: Line a 12-cup muffin pan with paper liners. In a mixing bowl, combine the chocolate cookie crumbs, melted butter, and granulated sugar, stirring until the mixture is evenly moistened. Divide this mixture evenly among the paper-lined muffin cups and press firmly to form a compact crust layer at the bottom of each cup. Place the pan in the refrigerator to chill while you prepare the filling.
- Make the cheesecake filling: In a large bowl, beat the softened cream cheese, creamy peanut butter, powdered sugar, and vanilla extract together using an electric mixer until the mixture is smooth and creamy with no lumps. In a separate bowl, whip the cold heavy cream until medium-stiff peaks form. Gently fold the whipped cream into the peanut butter mixture to create a light and airy filling.
- Add the peanut butter cups: Fold in the chopped mini peanut butter cups evenly into the filling, ensuring each bite will have lovely peanut butter cup pieces.
- Assemble the cheesecakes: Spoon the peanut butter filling evenly over the chilled crusts in the muffin liners, smoothing the tops with a spatula. Place the assembled cheesecakes back into the refrigerator and chill for at least 4 hours or until firm and set.
- Add toppings and serve: Before serving, top each mini cheesecake with a dollop of whipped cream, additional chopped mini peanut butter cups, and if desired, drizzle with melted chocolate chips for an extra touch of chocolate indulgence. Serve chilled for the best texture and flavor.
Notes
- Use full-fat cream cheese to achieve the firmest and creamiest filling texture.
- Ensure the cream cheese is fully softened before mixing to avoid lumps in the cheesecake filling.
- For easier removal from liners, consider chilling the cheesecakes overnight.
- These cheesecakes can be prepared up to 2 days in advance and stored in the refrigerator.
- Leftover cheesecakes should be kept refrigerated and consumed within 4 days for optimal freshness and safety.
- Prep Time: 20 minutes
- Cook Time: 0 minutes
- Category: Dessert, No-Bake Desserts, Cheesecake
- Method: No-Cook
- Cuisine: American