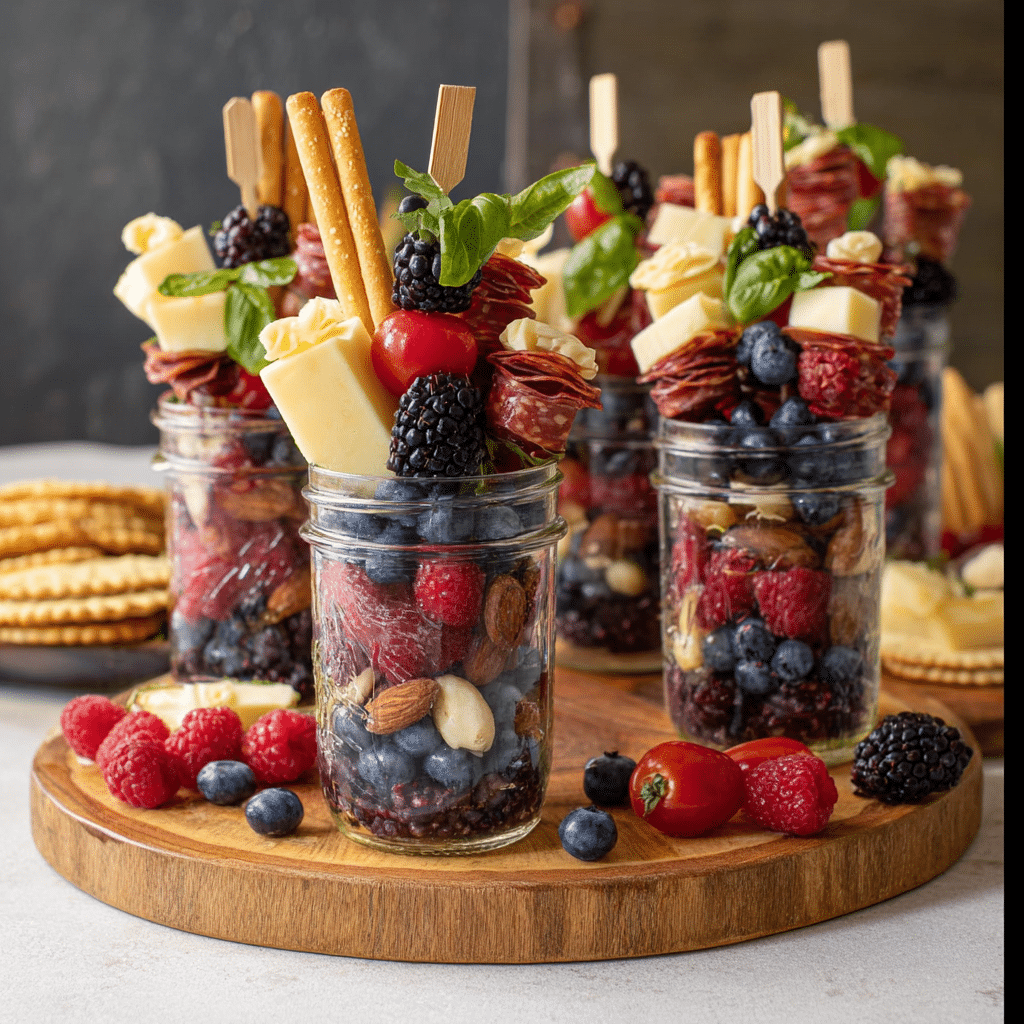
If you’re searching for a show-stopping appetizer that’s as easy to assemble as it is irresistibly delicious, let me introduce you to French Jarcuterie! Imagine a portable feast layered inside a glass jar, featuring savory cured meats, creamy cheeses, briny olives, crisp breadsticks, and sweet pops of grapes—all finished off with fresh herbs. French Jarcuterie isn’t just adorable and practical; it’s your secret weapon for stress-free entertaining, elegant picnics, or even portion-controlled snacking. Every layer is a small celebration of flavor, color, and texture, ready to be enjoyed wherever you are.
Ingredients You’ll Need
Here’s the beauty of French Jarcuterie: a handful of well-chosen ingredients, each one adding something amazing—richness, crunch, color, or a burst of freshness. Gather these staples, and you’re on your way to crafting little jars of joy!
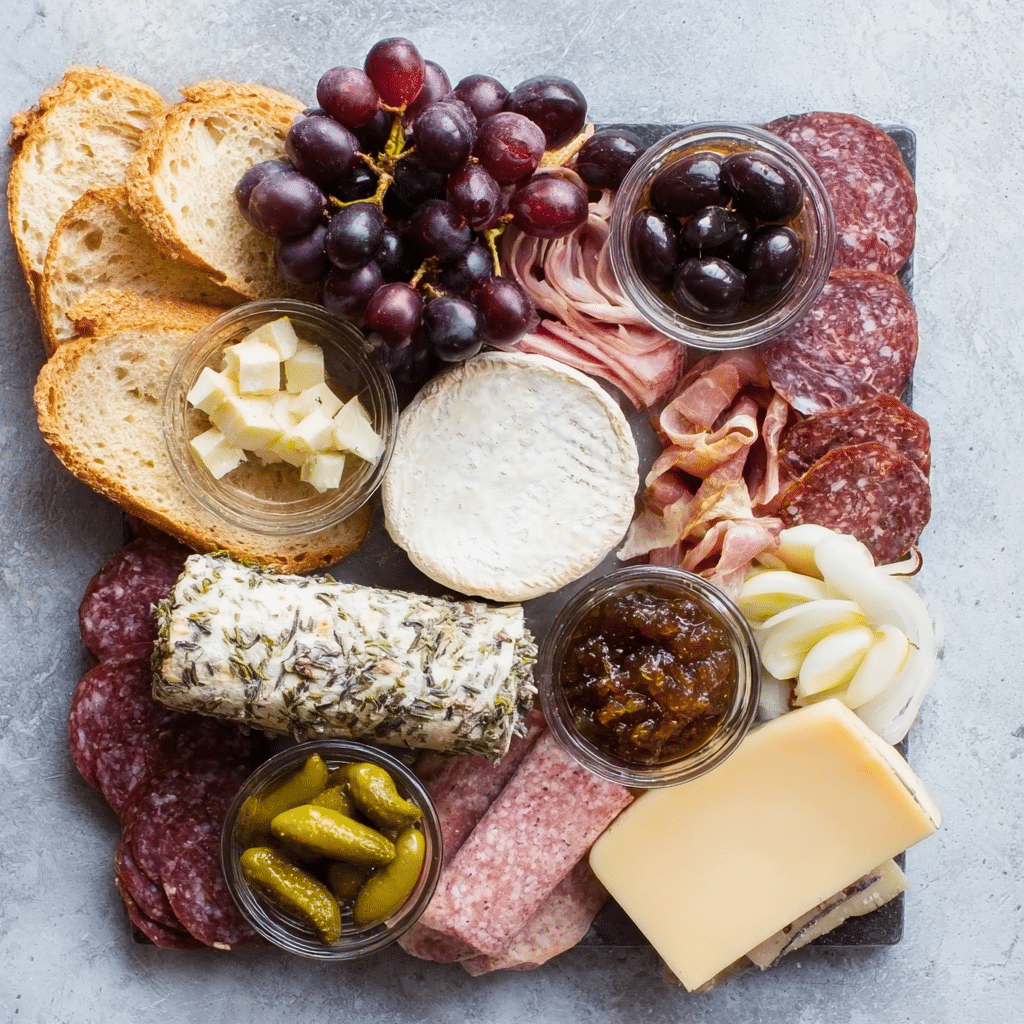
- Assorted cured meats: Think salami and prosciutto; they give each jar that classic charcuterie heartiness and a lovely salty bite.
- Cubes of cheese: Choose a trio like brie, comté, and cheddar for creaminess, age, and undeniable richness.
- Olives, cornichons, and grapes: These add tanginess, refreshing crunch, and juicy sweetness for perfect flavor balance.
- Mixed nuts and breadsticks: Nuts offer satisfying crunch, while breadsticks lend irresistibly crispy texture and visual height.
- Fresh herbs for garnish: A sprig of rosemary or thyme makes each jar aromatic and extra beautiful.
How to Make French Jarcuterie
Step 1: Prep All Your Ingredients
Start by cutting the cheeses into bite-sized cubes and folding or rolling your cured meats so they slide easily into your jars. Rinse and dry your grapes and cornichons, and have your olives and mixed nuts ready in bowls. Being organized now makes layering a total breeze!
Step 2: Build the Flavor Foundation
Spoon a generous layer of nuts or olives into the bottom of each jar. This not only adds an initial salty crunch but also helps soak up any brine that sneaks down, keeping the upper layers perfectly textured.
Step 3: Add Juicy and Pickled Goodness
Next, layer in the grapes and cornichons. Their sweet and tangy flavors cut through the richness of the meats and cheese, and their vibrant colors make your jar visually inviting.
Step 4: Cheese and Meat Marvels
Time for creamy and savory! Carefully drop in cubes of brie, cheddar, or comté. Then, fold or skewer slices of salami and prosciutto, nestling them into the jar so they stand up attractively—think “mini charcuterie board” in every glass.
Step 5: Top with Crunch & Greenery
Give your French Jarcuterie flair by tucking a slender breadstick and a sprig of fresh herb into each jar. This not only looks beautiful, but delivers a pop of aroma and crunch.
How to Serve French Jarcuterie
Garnishes
A simple herb sprig—think rosemary, thyme, or even basil—can transport your French Jarcuterie from cute to stunning. You can also sprinkle a touch of cracked black pepper or a few chili flakes over the cheese if you want a touch of drama.
Side Dishes
These jars pair with almost anything: crisp garden salads, tangy mustards, or even a basket of fresh baguette rounds on the side. For a French Jarcuterie picnic, bring along sparkling water, fruit preserves, or a crisp rosé to really set the scene.
Creative Ways to Present
Arrange your French Jarcuterie jars on a rustic wooden board or a slate tray for a gathered, bistro-style look. Tie a twine bow around each jar for a Pinterest-worthy effect, or label with guests’ names for a thoughtful personal touch. They look equally gorgeous lined up at a cocktail party or tucked into a picnic basket.
Make Ahead and Storage
Storing Leftovers
If you’ve got leftover French Jarcuterie jars, just pop the lids on and refrigerate. The layers keep surprisingly well for about 2 or 3 days, although breadsticks may soften a bit over time. For best results, add fresh herbs and crunchy elements just before serving.
Freezing
Freezing French Jarcuterie isn’t recommended; the fresh cheeses and veggies can lose their texture, and nobody wants a mealy grape! Instead, assemble only what you’ll enjoy in the next couple of days for the freshest snack.
Reheating
No reheating necessary—these are best eaten straight from the fridge or at cool room temperature. Just let them sit out for 10-15 minutes before serving if you want the flavors of the cheese and meats to really shine!
FAQs
What kind of jars should I use for French Jarcuterie?
Small mason jars or Weck jars (about 8 ounces) are perfect. They’re easy to pack, pretty to display, and just the right size for an individual serving.
Can I make French Jarcuterie ahead of time?
Absolutely! You can fully assemble your jars a day in advance. Just wait to add breadsticks and fresh herbs until serving to keep them at peak crispness and fragrance.
How do I keep ingredients from getting soggy?
Layer wetter items like pickles, olives, and grapes at the bottom, and place breadsticks and cheese near the top. This way, everything stays fresh and distinctive until mealtime.
Are there vegetarian options for French Jarcuterie?
Definitely! Swap cured meats for marinated artichokes, roasted red peppers, sun-dried tomatoes, or even grilled asparagus. The jarcuterie concept is endlessly customizable.
Can I scale this up for a party?
French Jarcuterie is a dream for parties—just multiply the ingredients by the number of guests. You can even offer variety jars with different cheese or meat selections for a playful, interactive spread.
Final Thoughts
I hope you’ll give French Jarcuterie a try the next time you want to impress friends (or simply treat yourself!). These jars are as fun to assemble as they are to eat, and I promise—once you taste that perfect bite of cheese, meat, olive, and herb, you’ll be hooked. Happy jarcuterie building!
Print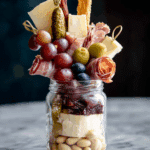
French Jarcuterie Recipe
- Total Time: 20 min
- Yield: 6 jars
- Diet: Low Carb
Description
The French Jarcuterie is a delightful twist on traditional charcuterie, featuring a selection of assorted cured meats, cheeses, olives, nuts, and fruits elegantly layered in portable jars for a sophisticated and convenient grazing experience.
Ingredients
Cured Meats:
- Salami
- Prosciutto
Cheeses:
- Brie
- Comté
- Cheddar
Accompaniments:
- Olives
- Cornichons
- Grapes
Extras:
- Mixed nuts
- Breadsticks
Garnish:
- Fresh herbs
Instructions
- Layer ingredients: Begin by vertically stacking nuts or olives at the bottom of each jar. Layer cheeses and meats on top.
- Finish with flair: Top off each jar with fresh herbs or add breadsticks for an elegant touch.
Notes
- Ideal for picnics and perfect for portion control.
- Prep Time: 20 min
- Category: Appetizer
- Method: Assembly
- Cuisine: French

