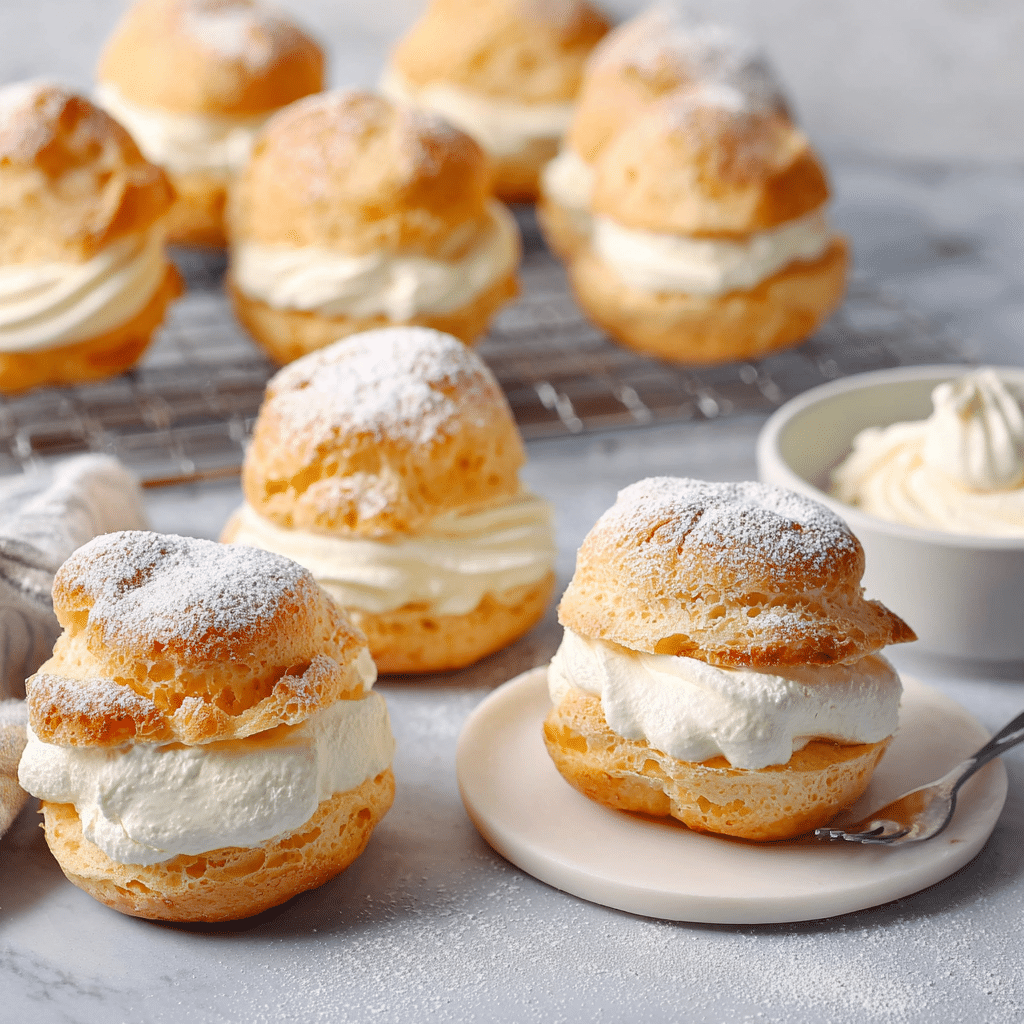
If you’re craving something that looks fancy but is secretly doable at home, these Cream Puffs – will absolutely win you over. Imagine biting into an airy golden shell that shatters gently before giving way to a cloud of sweet, vanilla-kissed cream. Whether you want to impress at special celebrations, share a timeless treat at tea, or whip up some midweek magic just because, these classic French pastries deliver on both looks and taste. Their versatile filling and show-stopping presentation are guaranteed to spark joy for anyone lucky enough to try them!
Ingredients You’ll Need
The beauty of Cream Puffs – is that a handful of basic ingredients work together to create something truly extraordinary. Each one is essential for building the pastry’s structure or lending that irresistibly smooth cream filling, so let’s give them a little moment in the spotlight.
- Unsalted butter: Gives the choux pastry a rich flavor and helps create the tender texture in the shells.
- Water: Essential for steam to “puff up” the pastry in the oven.
- Salt: Just a pinch balances the flavor of the dough beautifully.
- All-purpose flour: Provides the structure and body needed for those gorgeously golden puffs.
- Large eggs: Bring richness, beautiful color, and the puff’s signature airy texture.
- Heavy cream: Whips up to a billowy filling that’s light yet luscious.
- Powdered sugar: Sweetens the whipped cream and makes a perfect finishing dusting on top.
- Vanilla extract: Adds a fragrant, classic note to the cream filling.
- Powdered sugar (for dusting): A simple touch that makes the Cream Puffs – look extra elegant.
- Melted chocolate (optional): For an indulgent, glossy drizzle that takes your presentation up a notch.
How to Make
Step 1: Prepare and Preheat
The first step toward Cream Puffs – perfection is all in the setup. Start by preheating your oven to 400°F (200°C) and lining a baking sheet with parchment paper. This ensures the puffs don’t stick and bake up with those beautifully crisp exteriors.
Step 2: Make the Choux Pastry Dough
Combine your butter, water, and salt in a medium saucepan, and bring them to a rolling boil. The heat is crucial here, as it melts the butter and gets everything hot enough to receive the flour.
Step 3: Add Flour All at Once
With your mixture boiling, dump in the flour all at once and immediately begin stirring. Use a wooden spoon for this part – you’ll work the dough vigorously until it forms a smooth ball that pulls away from the sides of the pan.
Step 4: Cool and Incorporate Eggs
Take the pan off the heat and let the dough cool for about 5 minutes; this prevents the eggs from scrambling. Then, beat in the eggs one by one, mixing each thoroughly so the dough becomes silky, shiny, and wonderfully smooth.
Step 5: Shape the Puffs
Now for the fun part! Spoon or pipe rounds of dough onto your prepared baking sheet, leaving space between each so they have room to puff up. The more uniform your mounds, the prettier your Cream Puffs – will be.
Step 6: Bake to Golden Perfection
Bake for 25 to 30 minutes, watching as the puffs rise, expand, and become golden brown. You’ll know they’re ready when they feel crisp to the touch and look absolutely irresistible.
Step 7: Whip the Cream Filling
While the shells cool, whip your heavy cream with powdered sugar and vanilla extract until stiff peaks form. You want a sturdy yet cloud-like cream that will hold beautifully inside your puffs.
Step 8: Fill and Finish
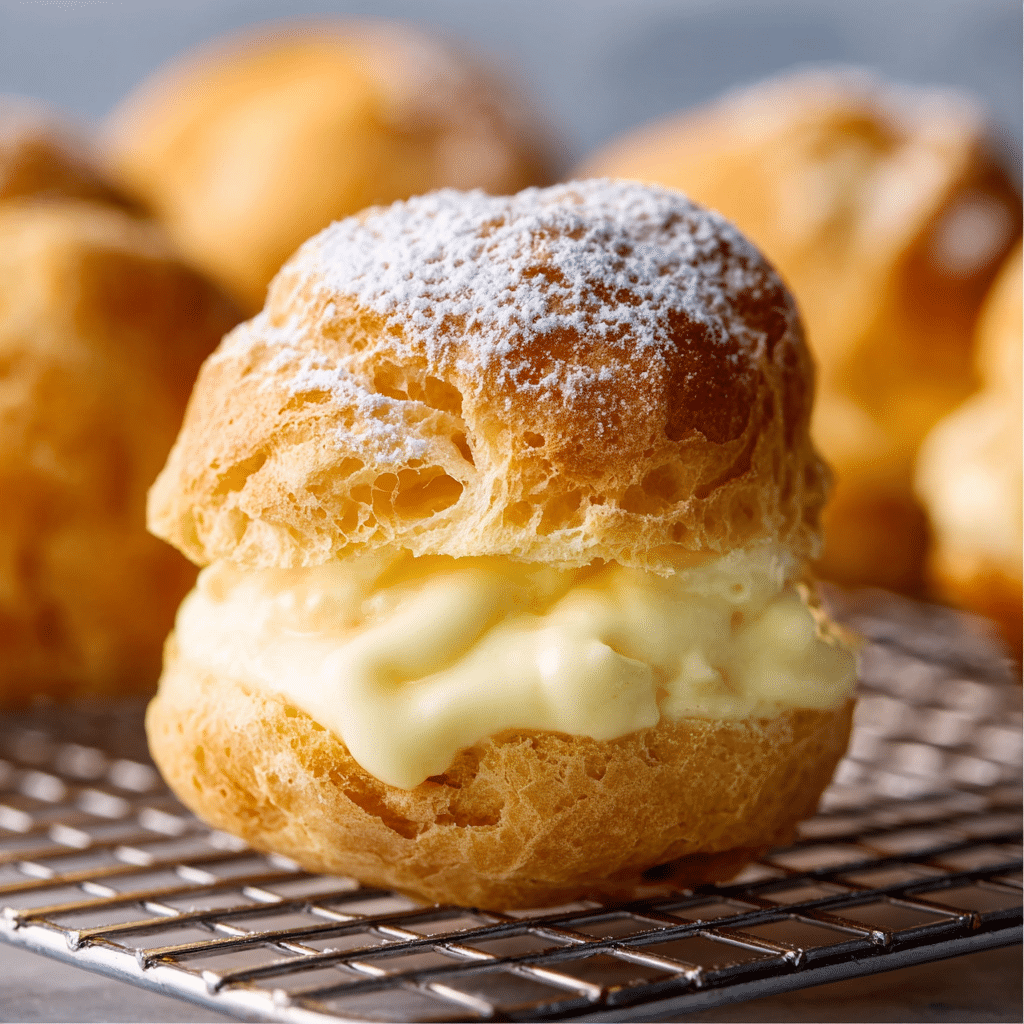
Once completely cooled, slice your puffs in half horizontally. Pipe or spoon the whipped cream generously onto the base, cap them with their “lids,” and dust with more powdered sugar. For an extra flourish, drizzle with melted chocolate. Cream Puffs – are ready to dazzle!
How to Serve
Garnishes
The classic finish is a delicate snowfall of powdered sugar right before serving. For a bolder statement, you can drizzle melted chocolate in sweeping ribbons over the tops, or even add candied citrus zest for sparkle and aroma.
Side Dishes
Cream Puffs – are delicious solo, but a fresh berry salad or a drizzle of fruit coulis brings contrast and color to your dessert plate. Consider serving them with some espresso or a cup of fragrant tea for the ultimate café-style treat.
Creative Ways to Present
Get playful and arrange your Cream Puffs – in a pyramid on a platter for a dramatic centerpiece. For individual servings, nestle each puff in a cupcake wrapper, or serve alongside a small jug of warm chocolate sauce for dipping. Perfect for parties, or even a whimsical afternoon tea.
Make Ahead and Storage
Storing Leftovers
If you have extra Cream Puffs – (rare, but lucky you!), store them in an airtight container in the refrigerator. They’ll stay tasty for a day or two, but know that the shells may soften as they absorb moisture from the cream.
Freezing
The unfilled choux shells freeze beautifully. Place cooled shells in a zip-top bag and freeze for up to a month. Thaw at room temperature before filling. For best results, do not freeze filled Cream Puffs – as the cream can lose its lovely airy texture.
Reheating
If you want to restore crispness to your shells before filling, pop them in a 300°F (150°C) oven for about 5 minutes. Always cool completely before slicing and filling. Already filled Cream Puffs – are best enjoyed cold and don’t need reheating.
FAQs
Why didn’t my Cream Puffs – rise properly?
Most often, this happens if the dough is too wet or if the oven wasn’t hot enough at the start. Make sure to measure ingredients carefully and avoid opening the oven door during baking so that steam can do its magic!
Can I fill Cream Puffs – with something other than whipped cream?
Absolutely! Try pastry cream, vanilla custard, ice cream for profiteroles, or even a flavored whipped cream. Each filling brings a new twist to the classic!
How do I avoid soggy Cream Puffs – after filling?
Wait until just before serving to fill the shells. You can also poke a small hole in each shell after baking to let out steam, which helps them stay crisp.
Are Cream Puffs – gluten-free?
As written, this recipe uses regular flour, but you can try a gluten-free all-purpose blend designed for baking to make a gluten-free version. Your results may vary depending on the brand, but it’s possible!
Can I make mini Cream Puffs – for parties?
Yes! Simply use smaller spoonfuls or pipe mini rounds of dough, and reduce baking time a bit. Watch closely and pull them from the oven when they’re golden and puffed.
Final Thoughts
I can’t wait for you to experience the simple luxury and delight that is homemade Cream Puffs –. Whether you’re baking for loved ones or treating yourself, this recipe is a timeless showstopper. Give these a try, share a few with friends, and don’t be surprised if they disappear in a flash!
Print
Cream Puffs – Recipe
- Total Time: 50 minutes
- Yield: About 12 cream puffs
- Diet: Vegetarian
Description
Delicate, golden choux pastry shells filled with sweet vanilla cream and topped with powdered sugar. A light and elegant dessert perfect for holidays, parties, or special occasions.
Ingredients
For the Pastry (Choux):
- ½ cup (1 stick) unsalted butter
- 1 cup water
- ¼ tsp salt
- 1 cup all-purpose flour
- 4 large eggs
For the Cream Filling:
- 2 cups heavy cream
- ¼ cup powdered sugar
- 1 tsp vanilla extract
Optional Topping:
- Powdered sugar for dusting
- Melted chocolate for drizzling
Instructions
- Preheat oven to 400°F (200°C). Line a baking sheet with parchment paper.
- In a medium saucepan, combine butter, water, and salt. Bring to a boil.
- Add flour all at once, stirring vigorously until mixture forms a ball and pulls away from the sides of the pan.
- Remove from heat and let cool for 5 minutes.
- Beat in eggs one at a time, mixing well after each until dough is smooth and glossy.
- Drop spoonfuls (or pipe rounds) of dough onto prepared baking sheet.
- Bake for 25–30 minutes, until puffs are golden brown and crisp. Cool completely.
- In a mixing bowl, whip cream, powdered sugar, and vanilla until stiff peaks form.
- Slice cooled puffs in half and fill with whipped cream. Replace tops and dust with powdered sugar.
- Serve immediately or refrigerate until ready to serve.
Notes
- You can also fill with custard, pastry cream, or even ice cream.
- For extra crispness, poke a small hole in each puff after baking to release steam.
- Best enjoyed the same day they are made.
- Prep Time: 20 minutes
- Cook Time: 30 minutes
- Category: Dessert
- Method: Baking
- Cuisine: French

