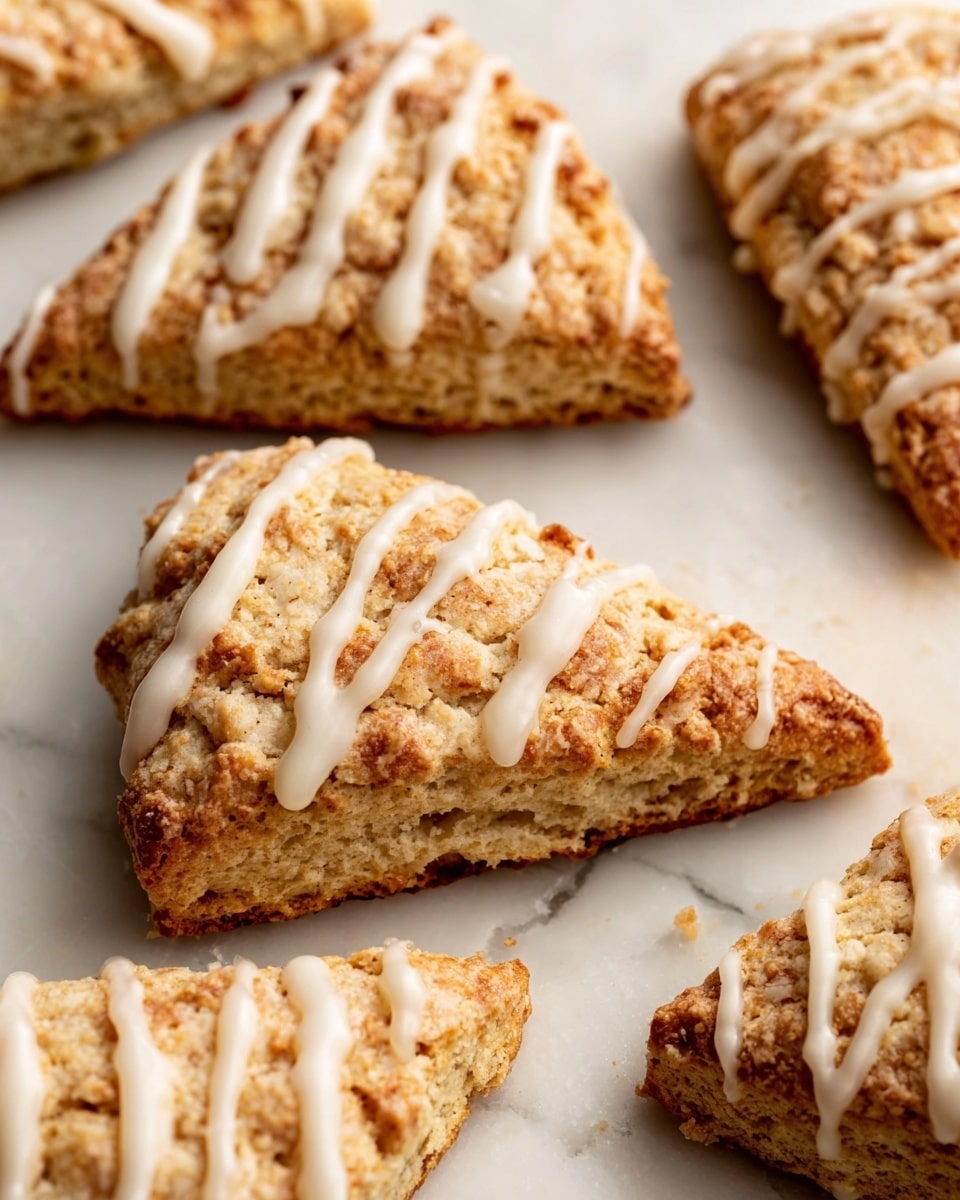
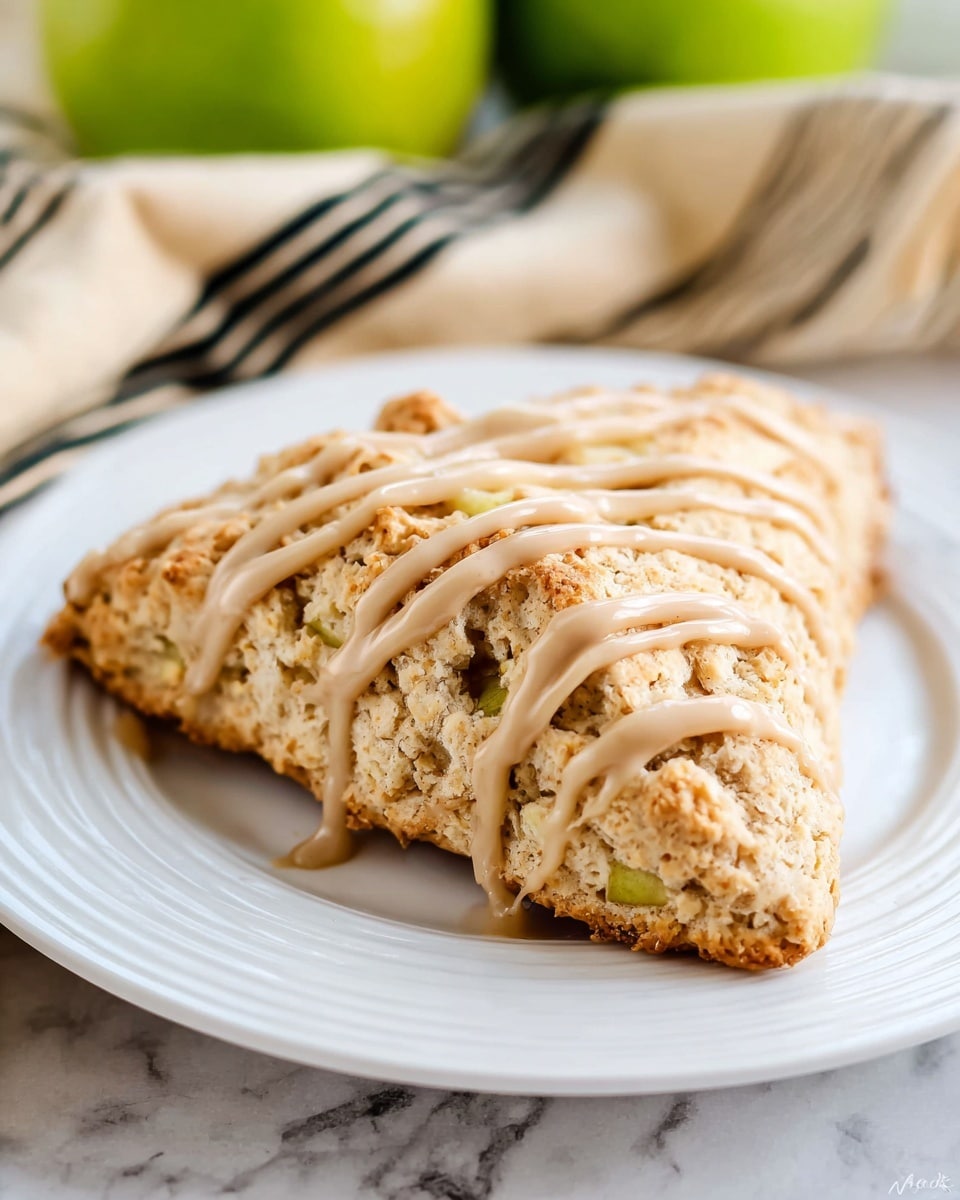
There is something truly magical about waking up to fresh Apple Scones with Maple Glaze Recipe that fills your kitchen with warmth and cozy sweetness. These tender, flaky scones are packed with juicy apple pieces and topped with a luscious maple glaze that’s both simple and indulgent. Whether you’re looking for a comforting breakfast, a delightful snack, or a charming treat to share with friends, this recipe captures the essence of fall baking in every bite.
Ingredients You’ll Need
Gathering the right ingredients is the first step to baking the perfect Apple Scones with Maple Glaze Recipe. Each component plays a vital role in delivering the ideal texture, flavor, and appearance— from the cold butter that creates flakiness to the sweet apples that add juicy bursts of freshness.
- 2 cups flour: The sturdy base providing structure and tenderness.
- ⅓ cup sugar: Adds balanced sweetness without overpowering the apples.
- 1 tbsp baking powder: Essential for light, fluffy scones that rise beautifully.
- ½ tsp salt: Enhances the overall flavor by balancing sweetness.
- ½ cup cold butter, cubed: Creates the flaky, melt-in-your-mouth texture.
- 1 apple, peeled and diced: Brings juicy freshness and subtle tartness.
- ½ cup milk: Moistens the dough to just the right consistency.
- 1 egg: Binds everything together for perfect scone structure.
- ½ cup powdered sugar (for glaze): Adds silky sweetness in the maple glaze.
- 2 tbsp maple syrup (for glaze): Imparts deep, rich flavor in the finishing touch.
How to Make Apple Scones with Maple Glaze Recipe
Step 1: Prepare Your Oven and Baking Sheet
Start by preheating your oven to 400 degrees Fahrenheit, ensuring it reaches the perfect temperature for fluffy, golden-brown scones. Line your baking sheet with parchment paper or a silicone mat to prevent sticking and make clean-up a breeze.
Step 2: Combine the Dry Ingredients
In a large bowl, whisk together the flour, sugar, baking powder, and salt. This blend forms the dry base of your scones, ensuring every bite is perfectly balanced.
Step 3: Cut in the Butter
Add the cold, cubed butter to the dry mix and gently use a pastry cutter or your fingertips to work it in until the mixture looks crumbly, with pea-sized bits of butter throughout. This step is key to creating those signature flaky layers.
Step 4: Add the Apples
Fold in the diced apples evenly, so bursts of juicy fruit will surprise your palate in every scone. The apples contribute moisture and a fresh sweetness that pairs wonderfully with the maple glaze.
Step 5: Mix in Milk and Egg
Pour in the milk and add the egg to the mixture. Gently stir everything until just combined. Overmixing can make scones tough, so keep it light to ensure tender results.
Step 6: Shape and Cut the Dough
Turn the dough onto a floured surface and gently pat it into a circle about an inch thick. Use a sharp knife to cut the circle into 8 even wedges, like slicing a pie.
Step 7: Bake Until Golden
Place the scones on the prepared baking sheet and bake for 18-20 minutes until they’re puffed up and golden at the edges. The warm apple aroma will be an irresistible sign that they’re ready.
Step 8: Drizzle with Maple Glaze
While the scones cool on a wire rack, mix the powdered sugar and maple syrup to make a smooth glaze. Once the scones are cool enough to handle, drizzle the glaze generously over the top to add a glossy, sweet finish.
How to Serve Apple Scones with Maple Glaze Recipe
Garnishes
A sprinkle of cinnamon or a few crushed toasted nuts like walnuts or pecans on top of the glaze adds beautiful texture and a cozy spice that complements the apple and maple flavors perfectly.
Side Dishes
Serve these apple scones with a dollop of whipped cream or a smear of cinnamon butter for an extra indulgence. They also pair wonderfully with a hot cup of chai tea or freshly brewed coffee to round out a comforting breakfast or afternoon snack.
Creative Ways to Present
Arrange the scones on a rustic wooden board adorned with fresh apple slices and a small bowl of maple syrup for dipping. For a festive touch, add some autumn leaves or a cinnamon stick to the platter to evoke the feeling of a crisp fall day.
Make Ahead and Storage
Storing Leftovers
Leftover scones should be stored in an airtight container at room temperature for up to two days. This keeps them tender without losing that freshly baked charm.
Freezing
Apple Scones with Maple Glaze Recipe freeze beautifully. Wrap each scone tightly in plastic wrap and place them in a freezer-safe bag. They’ll keep well for up to three months, allowing you to enjoy a special treat any time.
Reheating
To revive frozen or leftover scones, warm them briefly in a toaster oven or conventional oven at 350 degrees Fahrenheit for about 5-7 minutes. This will restore their flaky texture and warm the glaze to its perfect softness.
FAQs
Can I use a different type of apple for this recipe?
Absolutely! While tart apples like Granny Smith work great to balance the sweetness, sweeter varieties like Fuji or Honeycrisp can add a lovely mellow flavor. Just dice them small to ensure even baking.
Is there a non-dairy alternative for the milk in this recipe?
Yes, you can easily substitute any plant-based milk such as almond milk, oat milk, or soy milk without affecting the taste much. Just make sure to use an unsweetened variety to control sweetness.
Can I add nuts to the scone dough?
Definitely! Adding about ½ cup of chopped nuts like walnuts or pecans to the dough adds a delightful crunch and nutty flavor that complements the apple and maple beautifully.
How thick should I roll the dough before baking?
A thickness of about one inch is ideal for these scones. This ensures they bake evenly and develop the perfect tender, flaky interior without becoming too dense.
What if I don’t have maple syrup for the glaze?
You can substitute honey or a good quality light corn syrup in equal amounts. However, the distinct maple flavor is what makes this glaze truly special, so try to use maple syrup when possible.
Final Thoughts
There is nothing quite as heartwarming as enjoying homemade Apple Scones with Maple Glaze Recipe fresh from the oven. It’s a recipe that’s simple enough to make any day special yet sophisticated enough to impress anyone lucky enough to share them. So grab your ingredients, preheat the oven, and treat yourself to these little bites of autumn happiness that are sure to become a favorite in your baking repertoire!
Print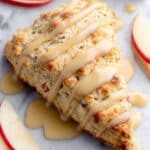
Apple Scones with Maple Glaze Recipe
- Total Time: 35 minutes
- Yield: 8 scones
- Diet: Vegetarian
Description
Tender, flaky apple scones filled with sweet diced apples and topped with a luscious maple glaze, perfect for a cozy breakfast or afternoon snack.
Ingredients
Scones:
- 2 cups all-purpose flour
- ⅓ cup granulated sugar
- 1 tbsp baking powder
- ½ tsp salt
- ½ cup cold unsalted butter, cubed
- 1 medium apple, peeled and diced
- ½ cup milk
- 1 large egg
Glaze:
- ½ cup powdered sugar
- 2 tbsp pure maple syrup
Instructions
- Preheat Oven: Preheat your oven to 400 °F (200 °C) and line a baking sheet with parchment paper or a silicone baking mat to prevent sticking.
- Mix Dry Ingredients: In a large bowl, whisk together the flour, sugar, baking powder, and salt until evenly combined.
- Cut in Butter: Add the cold, cubed butter to the dry ingredients. Use a pastry cutter or your fingers to work the butter into the flour mixture until it resembles coarse crumbs with some pea-sized pieces.
- Add Apple and Wet Ingredients: Gently fold in the diced apples, followed by the milk and egg. Mix just until the dough comes together, being careful not to overmix to keep the scones tender.
- Shape Dough and Slice: Turn the dough onto a lightly floured surface and shape it into a circle about 1 inch thick. Use a sharp knife or bench scraper to cut the dough into 8 equal wedges.
- Bake Scones: Arrange the scones on the prepared baking sheet, spacing them slightly apart. Bake for 18 to 20 minutes or until they are golden brown on top and a toothpick inserted into the center comes out clean.
- Cool and Glaze: Allow the scones to cool on a wire rack. In a small bowl, whisk together the powdered sugar and maple syrup until smooth, then drizzle the glaze over the cooled scones.
Notes
- For extra texture, try adding ½ cup chopped nuts such as pecans or walnuts to the dough.
- Use crisp, tart apples like Granny Smith for best flavor and texture.
- Make sure the butter is cold to achieve flaky layers in your scones.
- These scones can be stored in an airtight container at room temperature for up to 2 days or frozen for longer storage.
- Prep Time: 15 minutes
- Cook Time: 20 minutes
- Category: Breakfast / Snack
- Method: Baking
- Cuisine: American

