These Mini Pumpkin Cheese Balls are an absolute show-stopper at any fall celebration, whether it’s a Halloween bash, Friendsgiving, or Thanksgiving itself. Their creamy texture, zesty seasoning, and adorable pumpkin shape make them as enjoyable to make as they are to eat. The combination of cheddar and cream cheese gives just the right amount of tang and richness, while smoked paprika lends a hint of warmth and color. This Description will not only win hearts, but it also adds a playful (and entirely delicious) spin to your holiday appetizer spread!
Ingredients You’ll Need
You’ll be amazed at how just a handful of well-chosen ingredients can create such a festive (and tasty) Description. Each brings its own magic—texture, sharp flavor, or that unmistakable “pumpkin” look!
- 16 oz cream cheese, softened: The creamy base for our Description, ensuring each bite is rich and spreadable.
- 2 cups shredded cheddar cheese: Adds both sharp flavor and gorgeous color, helping those cheese balls really pop.
- 1 teaspoon garlic powder: Gives a subtle zing that keeps things savory and interesting.
- 1 teaspoon onion powder: Layers in earthy depth that balances the boldness of the cheddar.
- ½ teaspoon smoked paprika (plus extra for dusting): Offers a gentle smokiness and eye-catching orange tint—ideal for our pumpkin theme.
- ½ teaspoon salt: Brings out the flavors of every other ingredient in this festive Description.
- ¼ teaspoon black pepper: Provides a whisper of spice to round everything out.
- Pretzel sticks (for stems): Not just a cute detail; they add a salty, crunchy finish!
- Fresh parsley or green onion tops (for leaves): For a pop of green that makes each pumpkin look perfectly “picked.”
How to Make
Step 1: Mix the Cheesy Base
In a large bowl, combine your softened cream cheese, shredded cheddar, garlic powder, onion powder, paprika, salt, and pepper. The key here is to blend until everything is completely smooth and no streaks remain—this guarantees every bite of your Description packs full, creamy flavor.
Step 2: Shape into Mini Pumpkins
Scoop the cheesy mixture and divide it evenly into 10–12 small portions. Roll each one gently between your palms to form a smooth ball. The magic of this Description starts right here!
Step 3: Add Pumpkin Lines
To give your cheese balls that irresistible pumpkin appearance, use a small knife or toothpick to press vertical lines around each ball. No need for perfection— a little rustic charm is perfectly seasonal and sure to make your Description even more charming.
Step 4: Dust and Decorate
Sprinkle each pumpkin ball lightly with extra smoked paprika. This not only enhances the orange look but also deepens the flavor of your Description, adding a touch more smoked warmth.
Step 5: Create Stems and Leaves
Pop a pretzel stick into the top of each cheese ball to mimic a pumpkin stem, then tuck in a small parsley leaf or piece of green onion for a leafy flourish. Suddenly, your Description practically leaps off the platter!
Step 6: Chill and Serve
Let your mini cheese pumpkins chill for at least 30 minutes—this helps them firm up so they stay picture-perfect when serving. This quick chill time means your Description can easily be made ahead for stress-free entertaining.
How to Serve
Garnishes
For the ultimate finishing touch, scatter extra chopped parsley on the serving platter or even add a little more smoked paprika for color. Pair with a vibrant array of crackers or crisp veggie sticks to emphasize just how special your Description truly is.
Side Dishes
This dish shines as an appetizer, but if you want to make it part of a larger spread, try pairing with hearty dips, roasted nuts, or tangy pickles. The flavors in this Description play really nicely with sweet potato fries or cranberry chutney, adding even more fall magic to the table.
Creative Ways to Present
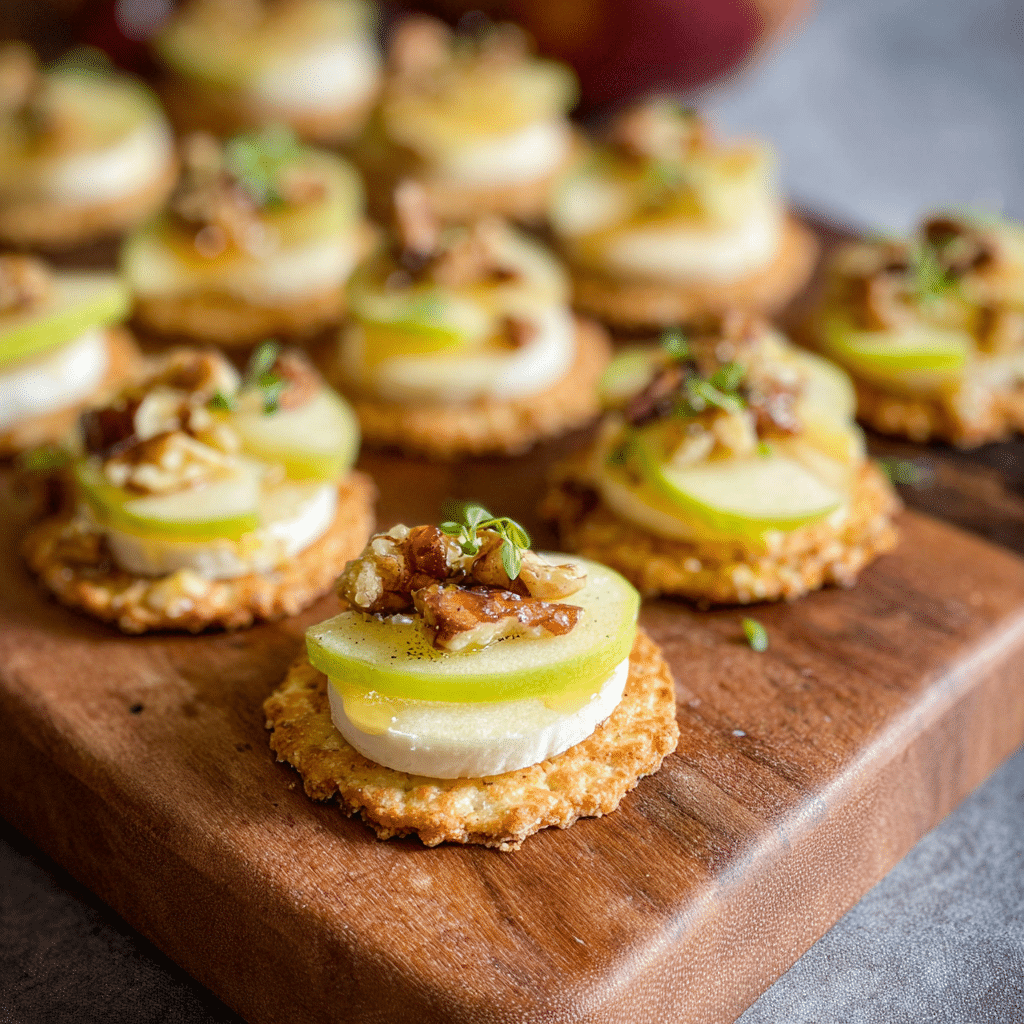
Arrange your Mini Pumpkin Cheese Balls on a big wooden board with crackers artfully fanned around each little pumpkin. Or, pile them up on a leaf-shaped platter for a literal harvest vibe! You could even tuck them into muffin wrappers for individual servings—making your Description equal parts practical and adorable.
Make Ahead and Storage
Storing Leftovers
If you find yourself with leftover cheese balls (which, let’s be honest, is pretty rare!), store your Description in an airtight container in the fridge. They’ll stay fresh and tasty for up to 2 days—perfect for late-night snacking!
Freezing
You can freeze your mini cheese balls if you like, but do so before adding the pretzel stems and fresh herb leaves to keep their texture perfect. Place the Description on a sheet pan to freeze solid, then transfer to a resealable bag. Thaw overnight in the refrigerator before finishing and serving.
Reheating
These cheese balls are best served chilled or at room temperature, so there’s no reheating necessary. If they firm up too much in the fridge, let the Description sit at room temperature for 10–15 minutes before serving for the creamiest texture.
FAQs
Can I make this Description ahead of time?
Absolutely! In fact, the flavors get even better if you prepare your Description a day in advance. Just add stems and leaves right before serving for the freshest look.
What can I serve alongside these cheese balls?
Your Description pairs wonderfully with a medley of crackers, sliced baguette, or crisp vegetables like celery, carrots, and bell peppers for dipping.
Can I change up the cheese blend?
Yes! Swap in pepper jack for a spicy kick or use a sharp white cheddar for a different flavor profile. Whatever you choose, let the cheese shine in your Description!
Are these friendly for gluten-free guests?
The Description itself is gluten-free, just make sure to serve with gluten-free crackers or veggie sticks rather than pretzels or regular crackers.
Is there a way to add even more flavor?
Mix in extras like finely chopped chives, jalapeños, or even a handful of crumbled bacon to personalize your Description and surprise your guests.
Final Thoughts
There’s just something about sharing a plate of these Mini Pumpkin Cheese Balls that brings instant smiles and lots of “oohs” and “aahs.” If you want a centerpiece-worthy appetizer that’s as playful as it is tasty, you’ve absolutely got to try this Description. Gather your ingredients, make a batch, and let the fall festivities begin!
Print
Mini Pumpkin Cheese Balls – Must-Try Fall Appetizer
- Total Time: 20 minutes
- Yield: 10–12 mini cheese balls
- Diet: Vegetarian, Gluten-Free
Description
These festive Mini Pumpkin Cheese Balls are a fun and flavorful appetizer for fall gatherings, Halloween parties, or Thanksgiving. Creamy, cheesy, and shaped like little pumpkins — they’re as cute as they are delicious!
Ingredients
Cheese Balls:
- 16 oz cream cheese, softened
- 2 cups shredded cheddar cheese
- 1 teaspoon garlic powder
- 1 teaspoon onion powder
- ½ teaspoon smoked paprika (plus extra for dusting)
- ½ teaspoon salt
- ¼ teaspoon black pepper
For Decoration:
- Pretzel sticks (for stems)
- Fresh parsley or green onion tops (for leaves)
Instructions
- In a large bowl, combine softened cream cheese, shredded cheddar, garlic powder, onion powder, paprika, salt, and pepper. Mix until well blended. Divide the mixture into 10–12 small portions. Roll each portion into a ball.
- Use a knife or toothpick to gently press vertical lines around each ball to resemble a pumpkin. Sprinkle lightly with extra paprika for color.
- Insert a pretzel stick in the top of each ball to form the stem. Add a small parsley leaf or green onion top as the “pumpkin leaf.”
- Chill for at least 30 minutes before serving.
Notes
- Serve with crackers, pretzels, or fresh veggie sticks.
- For extra flavor, mix in finely chopped chives, jalapeños, or crumbled bacon.
- Make ahead: Cheese balls can be refrigerated up to 2 days before serving.
- Prep Time: 20 minutes
- Cook Time: 0 minutes
- Category: Appetizer
- Method: No-Cook
- Cuisine: American
Nutrition
- Serving Size: 1 mini cheese ball
- Calories: 120
- Sugar: 1g
- Sodium: 180mg
- Fat: 10g
- Saturated Fat: 6g
- Unsaturated Fat: 4g
- Trans Fat: 0g
- Carbohydrates: 3g
- Fiber: 0g
- Protein: 5g
- Cholesterol: 30mg

